By connecting Google Analytics to Omnia you can create insightful reports and use pageviews in your strategy.
This article describes step-by-step how to set up the connection between Google Analytics (also referred to as GA) and Omnia. After connecting, it takes approximately 48 hours for the data to appear within Omnia.
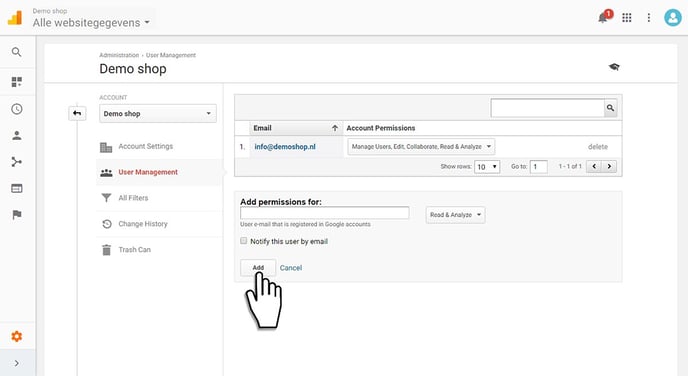
Step 1: Grant permissions for omniamcc@gmail.com to your Google Analytics account.
In Google Analytics, navigate to the admin section, go to Account, and click "User Management." Here you need to provide read & analyze permissions to omniamcc@gmail.com
Step 2: Setup connection within Omnia
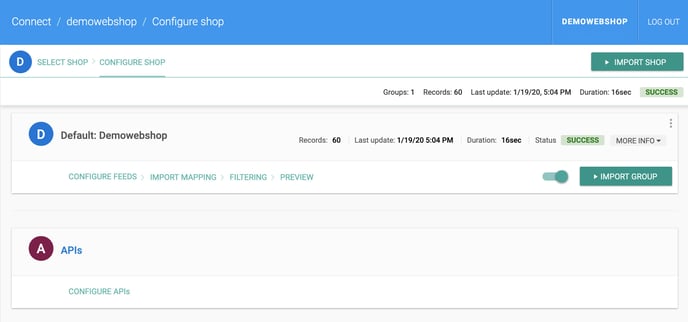
Navigate to Connect > Configure Shop > Configure APIs. Click the red plus on the bottom right to setup a new API.
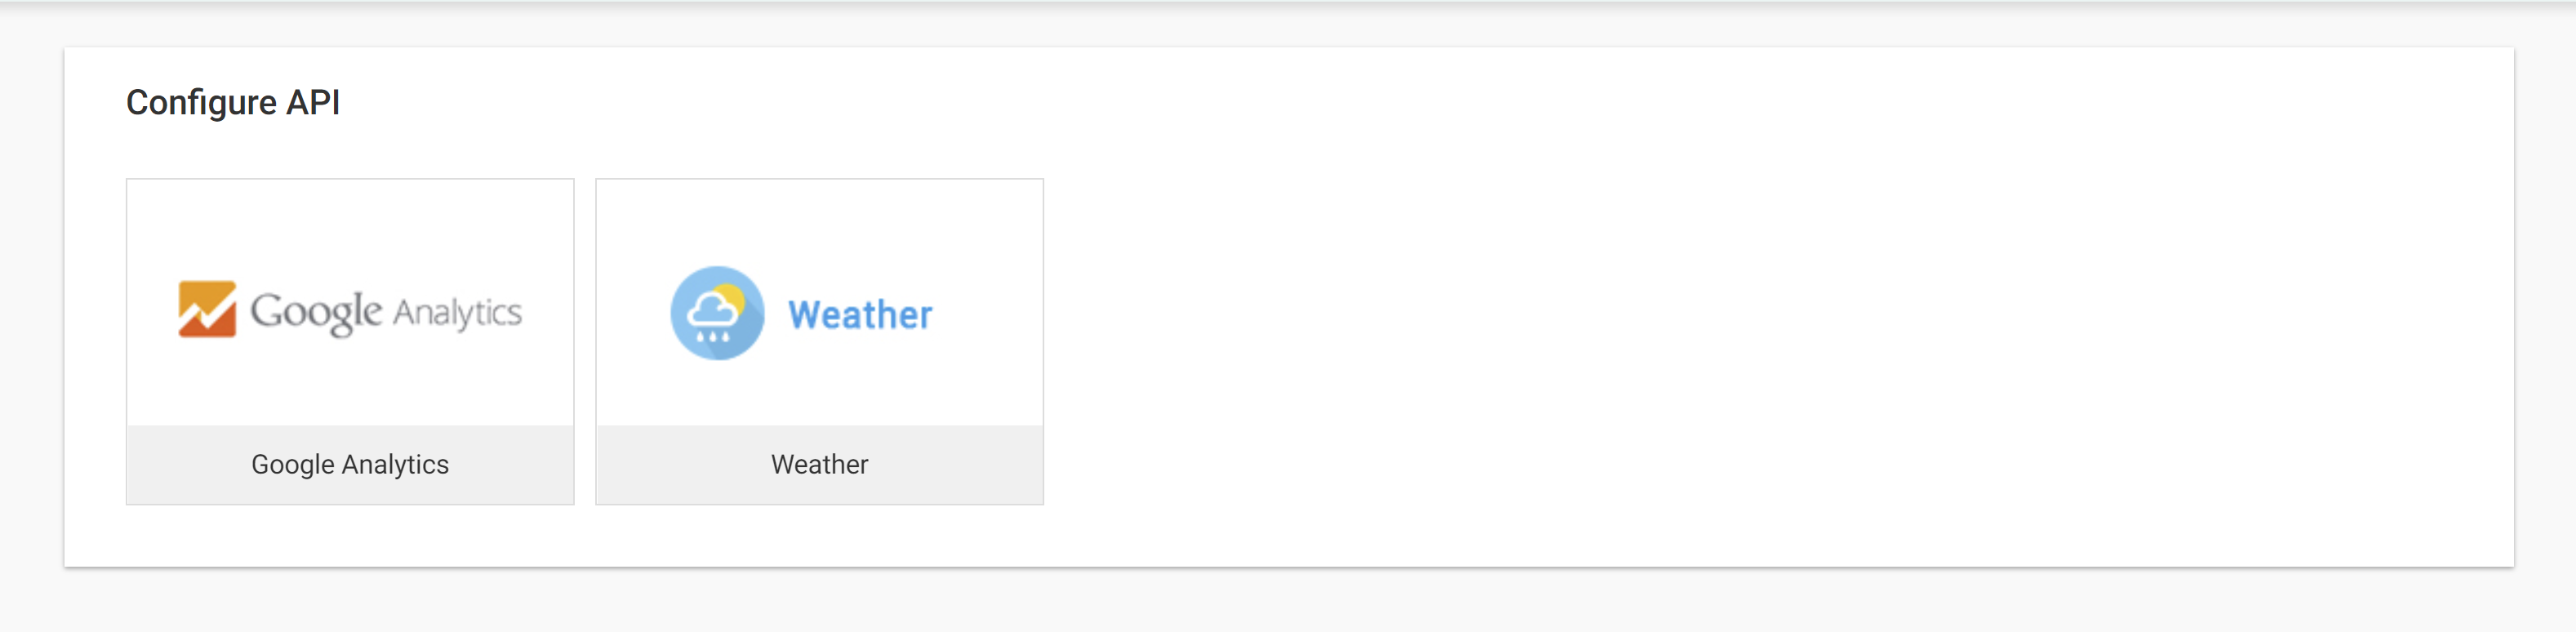
Select the Google Analytics API and fill in the following details:
- Level: Agent
- Profile Id:
In the Admin section within Google Analytics navigate to 'View settings." Select the view you want to attach to Omnia. On the top of the page, a View ID will be shown, preceded by GA:. Include the entire Id (e.g. ga:1234567)
-
Product Sku: empty
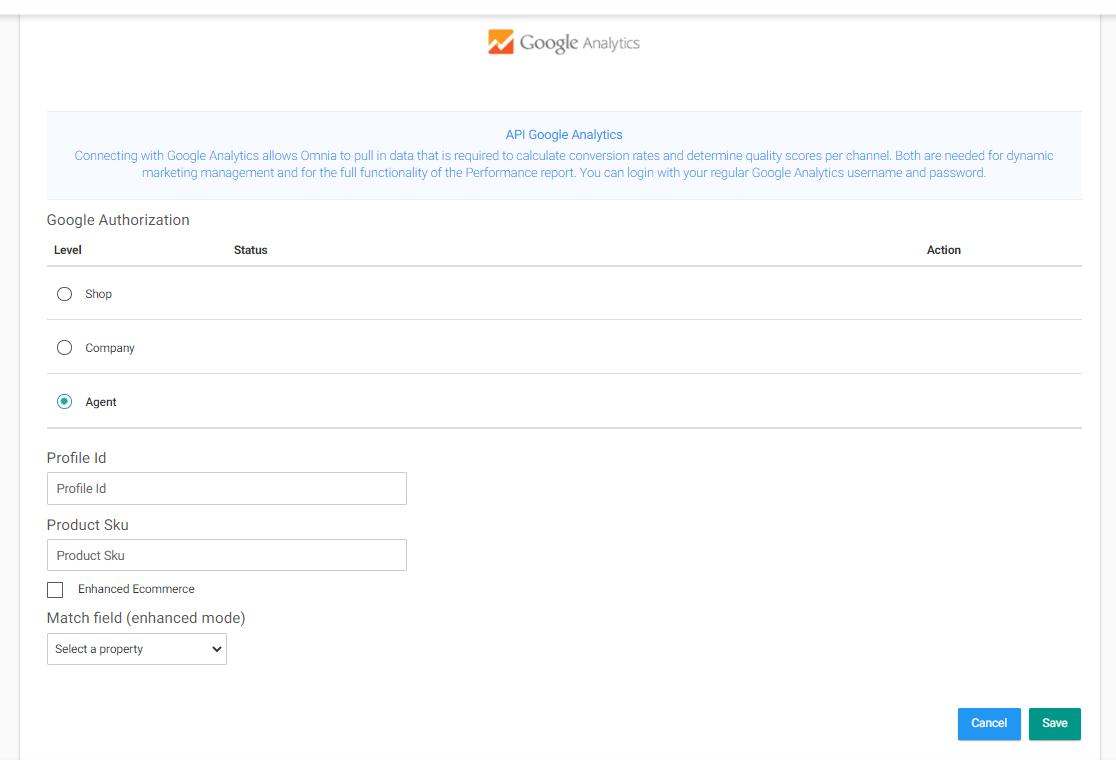
If your organization uses the "Enhanced Ecommerce" functionality, check this box and select the import field that matches the SKU within Google Analytics.
You can find the SKU when you can open Analytics and navigate to Conversions > Ecommerce > Product Performance, and choose ‘Product SKU’ as the Primary Dimension, see below.
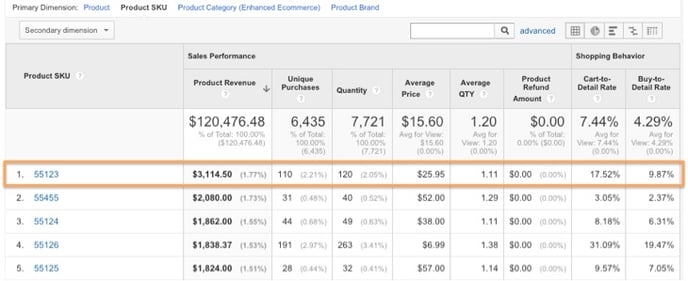
Note: If you do not use Enhanced Ecommerce, the correct product detail page data needs to be included in your import feed and mapped to the Deeplink field.
Hit "Save" and wait 48 hours for the data to load into the system.